For fans of Nintendo's legendary racing franchise, few elements capture the spirit of playful competition quite like the iconic turtle shells that have defined countless Mario Kart battles over the years. Whether you're a dedicated enthusiast of the series or simply looking to bring a piece of gaming nostalgia into your home, creating your own three-dimensional replicas of these classic power-ups offers a rewarding project that blends creativity with craftsmanship. This guide will walk you through the entire process, from understanding the cultural significance of these beloved items to the final touches that make your models truly stand out.
Understanding mario kart's iconic turtle shell power-ups and their racing legacy
Since its debut, Mario Kart has captivated players around the globe with its unique blend of high-speed racing and unpredictable combat. At the heart of this experience are the turtle shells, which have become synonymous with the franchise itself. These projectiles, available in green and red variants, have evolved alongside the game, offering both offensive and defensive strategies that keep races thrilling and unpredictable. The green shells travel in straight lines, bouncing off walls and requiring precise aim, while the red shells home in on opponents, making them a favourite among those seeking guaranteed hits. The blue shell, often feared for its ability to target the race leader, has become a cultural icon in its own right, symbolising the unexpected twists that make Mario Kart so exhilarating.
The Evolution of Turtle Shells Across Mario Kart Deluxe and Ultimate Editions
Over the decades, Mario Kart has seen numerous iterations, each introducing refinements and new features that enhance gameplay. The Deluxe editions, particularly on the Nintendo Switch, have brought the franchise to new audiences while preserving the core mechanics that long-time fans cherish. In these versions, turtle shells retain their fundamental roles but benefit from improved graphics and physics that make them feel more dynamic than ever. The Ultimate editions, though not an official designation, often refer to the most complete and polished releases that compile tracks, characters, and features from across the series. In these comprehensive versions, the turtle shells are not merely tools of competition but symbols of the franchise's enduring appeal, bridging generations of players who have grown up hurling these projectiles at friends and rivals alike.
Why Turtle Shells Remain the Most Beloved Weapon Among Millennials and Racing Enthusiasts
The turtle shell's popularity extends far beyond its in-game utility. For millennials who spent countless hours racing as Mario, Luigi, Bowser, Peach, Yoshi, and Donkey Kong, these items represent cherished memories of friendly rivalry and shared laughter. The simplicity of their design, combined with the strategic depth they introduce, ensures that turtle shells remain relevant even as the series continues to innovate. Their presence in movies, advertisements, and broader popular culture has cemented their status as icons of gaming history. This widespread recognition makes turtle shell replicas particularly appealing for collectors and fans who wish to celebrate the world-renowned legacy of Mario Kart in a tangible way.
Designing and 3D Printing Your Mario Kart Turtle Shell Models: Materials and Techniques
Transforming the digital concept of a turtle shell into a physical model begins with careful planning and the right choice of materials. The process of three-dimensional printing has become increasingly accessible, allowing enthusiasts to produce high-quality replicas from the comfort of their own homes. Understanding the nuances of filament selection and design preparation is essential to achieving results that are both durable and visually faithful to the original game assets.
Selecting the Right 3D Printing Filament for Durable Racing Shell Replicas
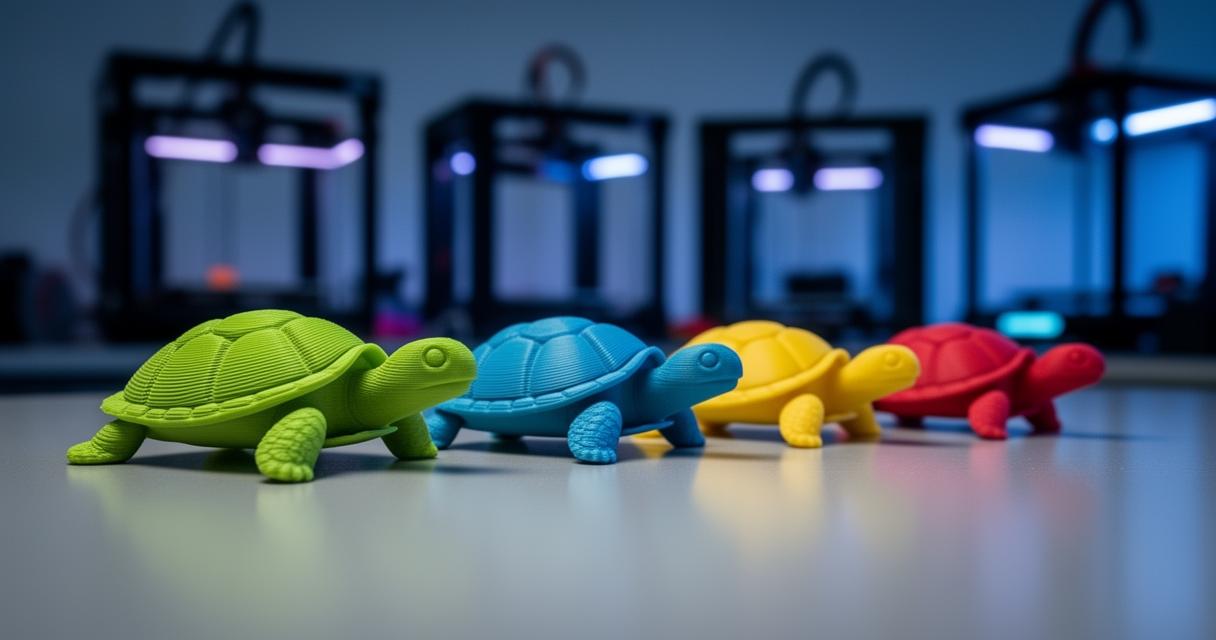
The choice of filament significantly impacts the final quality of your turtle shell model. For most projects, PLA filament is an excellent starting point due to its ease of use, affordability, and ability to produce smooth surfaces that are ideal for painting. PLA is biodegradable, making it an environmentally friendly option, and it prints at relatively low temperatures, reducing the risk of warping or other common printing issues. However, if you require a model with greater durability, particularly for display pieces that may be handled frequently, ABS filament offers superior strength and heat resistance. PETG serves as a middle ground, combining the ease of PLA with the resilience of ABS, making it a versatile choice for those who want a balance between workability and robustness. Regardless of the material chosen, ensure that your printer is properly calibrated and that you have a clean build surface to avoid adhesion problems that could compromise the integrity of your shell.
Step-by-step modelling process: from digital design to physical shell creation
Creating a turtle shell replica begins with sourcing or designing a digital model. Many enthusiasts turn to online repositories where talented designers share their interpretations of Mario Kart items, often optimised specifically for three-dimensional printing. Once you have obtained a suitable file, import it into slicing software, which translates the digital model into instructions your printer can follow. Pay close attention to layer height, infill density, and support structures. A layer height of around 0.2 millimetres strikes a good balance between print speed and surface quality, while an infill density of fifteen to twenty per cent provides sufficient strength without excessive material use. Support structures are particularly important for the curved surfaces and overhangs typical of turtle shell designs. After slicing, transfer the file to your printer and begin the printing process. Depending on the size and complexity of your model, printing may take several hours, so patience is key. Once the print is complete, carefully remove any support material and sand any rough edges to prepare the shell for the finishing stages.
Bringing Your Turtle Shells to Life: Painting, Finishing, and Display Ideas Inspired by Nintendo's World-Renowned Franchise
With the physical shell in hand, the next phase involves transforming the raw print into a polished piece that captures the vibrant aesthetic of Mario Kart. Painting and finishing techniques are where your creativity truly shines, allowing you to replicate the iconic colours and textures that make these power-ups instantly recognisable.
Authentic Colour Schemes and Weathering Techniques for Mario, Luigi, and Bowser Shell Variants
The classic green shell is perhaps the most straightforward to paint, requiring a smooth, glossy finish in a vibrant emerald tone. Begin by applying a primer coat to ensure the paint adheres evenly and fills any minor imperfections left by the printing process. Once the primer is dry, apply several thin coats of green acrylic or spray paint, allowing each layer to dry thoroughly before adding the next. The goal is to achieve a uniform, saturated colour that reflects the bold visual style of the game. For the red shell, follow a similar approach, opting for a bright, traffic-light red that stands out. The blue shell, with its distinctive wings and spiked design, may require additional detailing, including metallic accents and careful shading to highlight its three-dimensional features. Weathering techniques can add realism and depth to your models. Light dry brushing with darker shades can simulate scuff marks and wear, giving the impression that these shells have seen action on the racetrack. For a more dramatic effect, consider adding subtle highlights along edges and raised areas to mimic the way light interacts with the glossy surfaces seen in the game.
Creative Display Options: Recreating Iconic Racing Scenes with Peach, Yoshi, and Donkey Kong
Once your turtle shells are complete, consider how you wish to display them. A simple shelf can suffice, but more ambitious projects might involve recreating scenes from Mario Kart's most memorable tracks. Imagine a diorama featuring Mario and Luigi mid-race, with turtle shells suspended in motion, or a scene where Bowser, Peach, Yoshi, and Donkey Kong compete on Rainbow Road, surrounded by the colourful power-ups that define the series. You might also explore themed bases that incorporate elements like question mark blocks, banana peels, or miniature karts to complete the tableau. Such displays not only showcase your craftsmanship but also celebrate the rich legacy of a franchise that has brought joy to millions. Whether you choose to create a single standout piece or an entire collection, these models serve as a tribute to the enduring appeal of Mario Kart and its place in gaming history.